本篇记录Spring Config Server配置管理方案中、基于git
webhook和rabbitmq实现配置的实时热更新,无需重启应用。
对于服务较少的类型,其实可以通过手动发送post请求到指定应用的端口从而实现手动触发配置更新,但是在应用数量众多、环境profile较多、配置服务器不止一个的情况下,上述方法就较为低效了。因此,可以通过使用SpringCloud
Config
Server方案。(本篇没有讨论与nacos、consul的对比,若也有疑问可以参考Nacos、Apollo、SpringCloud
Config微服务配置中心对比 - hanease - 博客园 (cnblogs.com) )
基于git对配置文件进行管理,使用{应用名}-{profile}方式实现隔离管理;
基于git webhook异步回调触发配置更新;
基于SpringCloud
Bus、AMQP协议实现待更新的微服务应用从配置服务器处接收更新;
前段时间拍的石泉县后柳水乡,风景真的很好
基于git和rabbitmq配置热更新
spring config server的核心pom依赖如下:
1 2 3 4 5 6 7 8 9 10 11 12 13 14 15 16 17 18 19 20 21 22 23 24 25 26 27 28 29 30 31 32 33 34 35 36 37 38 <dependencies > <dependency > <groupId > org.springframework.cloud</groupId > <artifactId > spring-cloud-config-server</artifactId > </dependency > <dependency > <groupId > org.springframework.cloud</groupId > <artifactId > spring-cloud-config-monitor</artifactId > </dependency > <dependency > <groupId > org.springframework.cloud</groupId > <artifactId > spring-cloud-starter-bus-amqp</artifactId > </dependency > </dependencies > <dependencyManagement > <dependencies > <dependency > <groupId > org.springframework.cloud</groupId > <artifactId > spring-cloud-dependencies</artifactId > <version > ${spring-cloud.version}</version > <type > pom</type > <scope > import</scope > </dependency > </dependencies > </dependencyManagement > <build > <plugins > <plugin > <groupId > org.springframework.boot</groupId > <artifactId > spring-boot-maven-plugin</artifactId > </plugin > </plugins > </build >
其中:
spring-cloud-config-monitor :提供了/monitor接口,用于以POST方法接收git的push事件。spring-cloud-starter-bus-amqp :用于实现 Spring
Cloud Bus
的功能,主要用于微服务之间的事件传播和刷新。在这里用于客户端和配置服务器之间的更新时间订阅和推送接收。
config
server主代码如下,核心是@EnableConfigServer注解用于声明这是一个配置管理服务器应用。
1
2
3
4
5
6
7
8
9
10
11
12
13
14
15
16
17
18
19
20
21
22
package lzw.xidian.edu.cn.configserver;import org.springframework.boot.SpringApplication;import org.springframework.boot.autoconfigure.SpringBootApplication;import org.springframework.cloud.config.server.EnableConfigServer;@SpringBootApplication @EnableConfigServer public class ConfigServerApplication { public static void main (String[] args) { SpringApplication.run(ConfigServerApplication.class, args); } }
应用配置文件如下:
1
2
3
4
5
6
7
8
9
10
11
12
13
14
15
16
17
18
19
20
21
22
23
server: port: 20202 spring: application: name: Config-Server cloud: config: server: git: uri: http://192.168.0.107/lzwgiter/springcloud-demo-config rabbitmq: host: 192.168 .0 .107 port: 5672 username: float password: f10at virtual-host: rabbit_learning eureka: instance: hostname: localhost client: service-url: defaultZone: http://localhost:8080/eureka/, http://localhost:8081/eureka/
其中,192.168.0.107是我本地的一个小服务器,其上相关部署内容如下。具体的安装方式这里不赘述。
RabbitMQ
3.13.6
Gitea
1.22.1
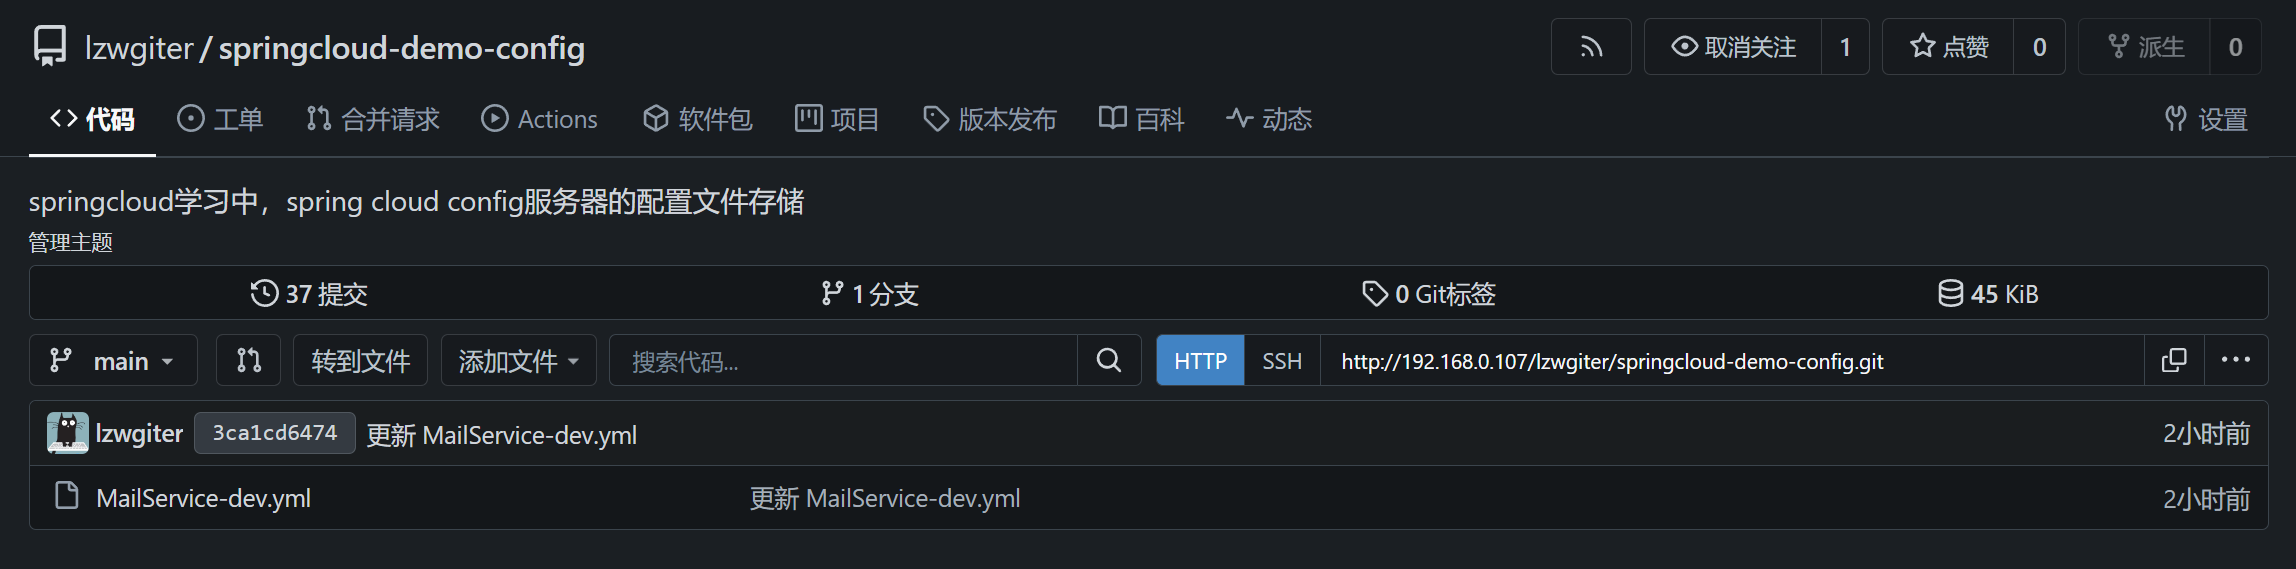
我这里包含一个名为Mail-Service的微服务,其功能是根据给定的字符串生成一个邮箱地址。因此,我在仓库中新建如下文件和内容:
SpringCloud Config
Server遵循如下的配置文件命名方式,从而实现了隔离管理:
1
2
3
4
5
/{application}/{profile}[/{label}] /{application}-{profile}.yml /{label}/{application}-{profile}.yml /{application}-{profile}.properties /{label}/{application}-{profile}.properties
其中,application为该配置项从属的应用名称、label用于区分git中的分支名、profile用于区分开发或生产或其他环境。通过在application.yml文件中声明对应的键值对从而实现匹配。
功能核心代码如下:
1
2
3
4
5
private String emailSuffix;public String generateMailAddress (String name) { return name + "@" + emailSuffix; }
功能效果如下:
那么,为了实现推送更新到仓库中、并触发配置中心对该更新的拉取、以及客户端的数据更新,我们需要如下步骤:
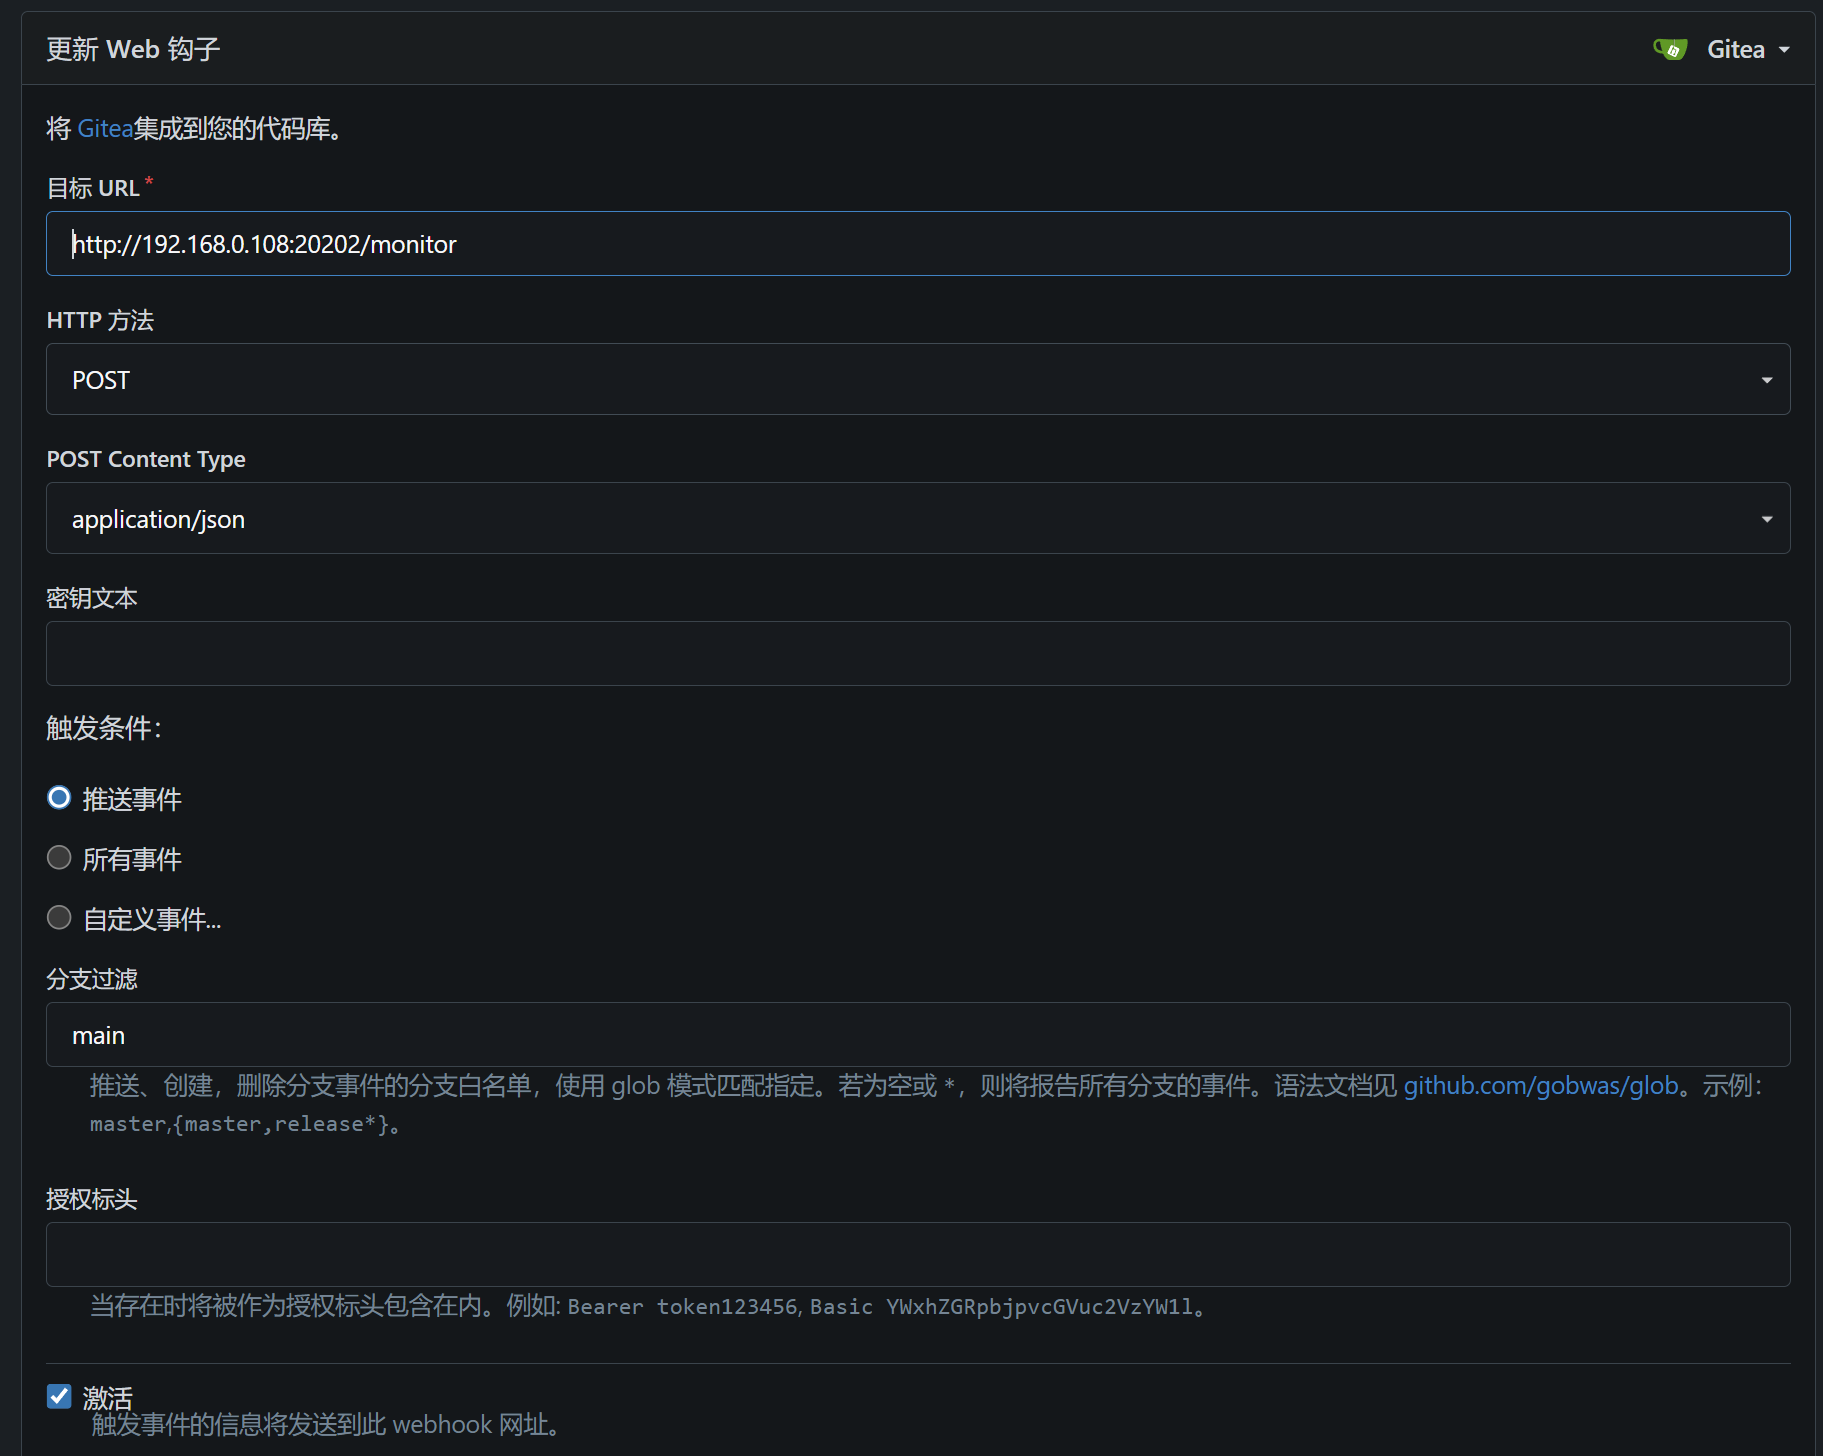
配置git webhook
前面提到,spring-cloud-config-monitor为我们提供了/monitor接口用以接收更新,我们可以在仓库设置中增加一个webhook以推送内容到该接口。我这边使用的是gitea:
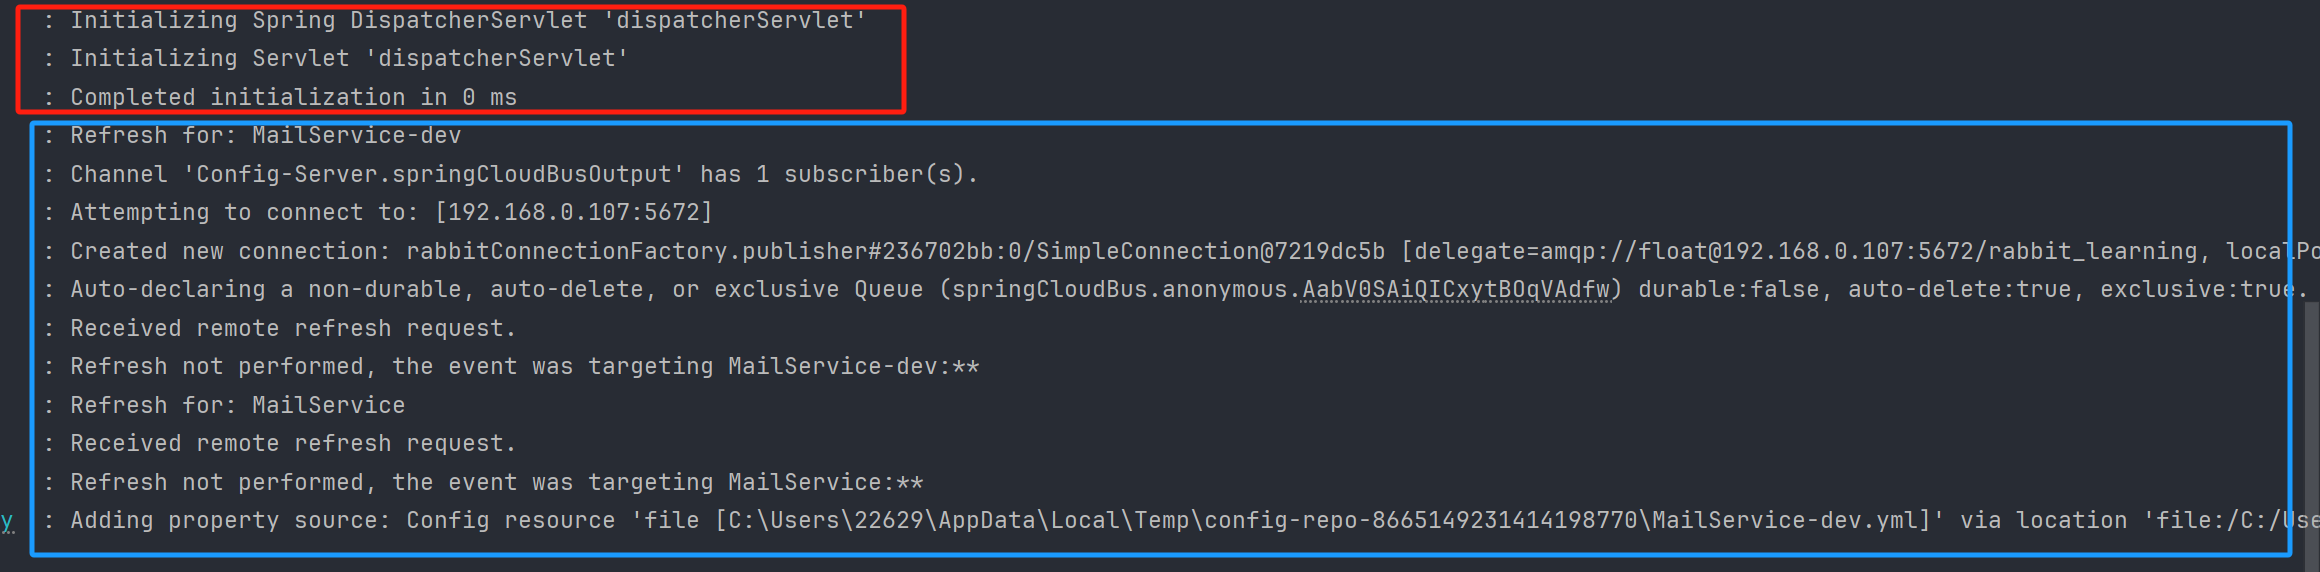
此时,当仓库内容发生变更时,我们可以看到配置服务器已经可以接收到更新了:
红框内容可以看到接收到了webhook的web请求,开始处理;蓝框部分证明收到了MailService-dev的配置更新内容。蓝框剩下内容可以先忽略,后面会涉及。
但是此时我们的客户端应用还没有收到更新,那要怎么办呢?
配置Config Server客户端
首先我们需要增加如下客户端pom依赖:
1 2 3 4 5 6 7 8 9 10 11 <dependency > <groupId > org.springframework.cloud</groupId > <artifactId > spring-cloud-starter-config</artifactId > </dependency > <dependency > <groupId > org.springframework.cloud</groupId > <artifactId > spring-cloud-starter-bus-amqp</artifactId > </dependency >
然后在application.yml中增加如下配置内容:
1
2
3
4
5
6
7
8
9
10
11
12
13
14
spring: rabbitmq: host: 192.168 .0 .107 port: 5672 username: float password: f10at virtual-host: rabbit_learning config: import: configserver:http://localhost:20202 cloud: config: name: MailService label: main profile: dev
然后在需要实时更新数据的位置增加注解@RefreshScope以实现刷新,建议放在配置了大量配置类bean的地方,这里是我的代码比较简单粗糙。
1
2
3
4
5
6
7
8
9
10
11
12
13
14
15
16
17
18
@Service @RefreshScope public class GMailServiceImpl implements MailService { @Value("${suffix}") private String emailSuffix; @Override public String generateMailAddress (String name) { return name + "@" + emailSuffix; } }
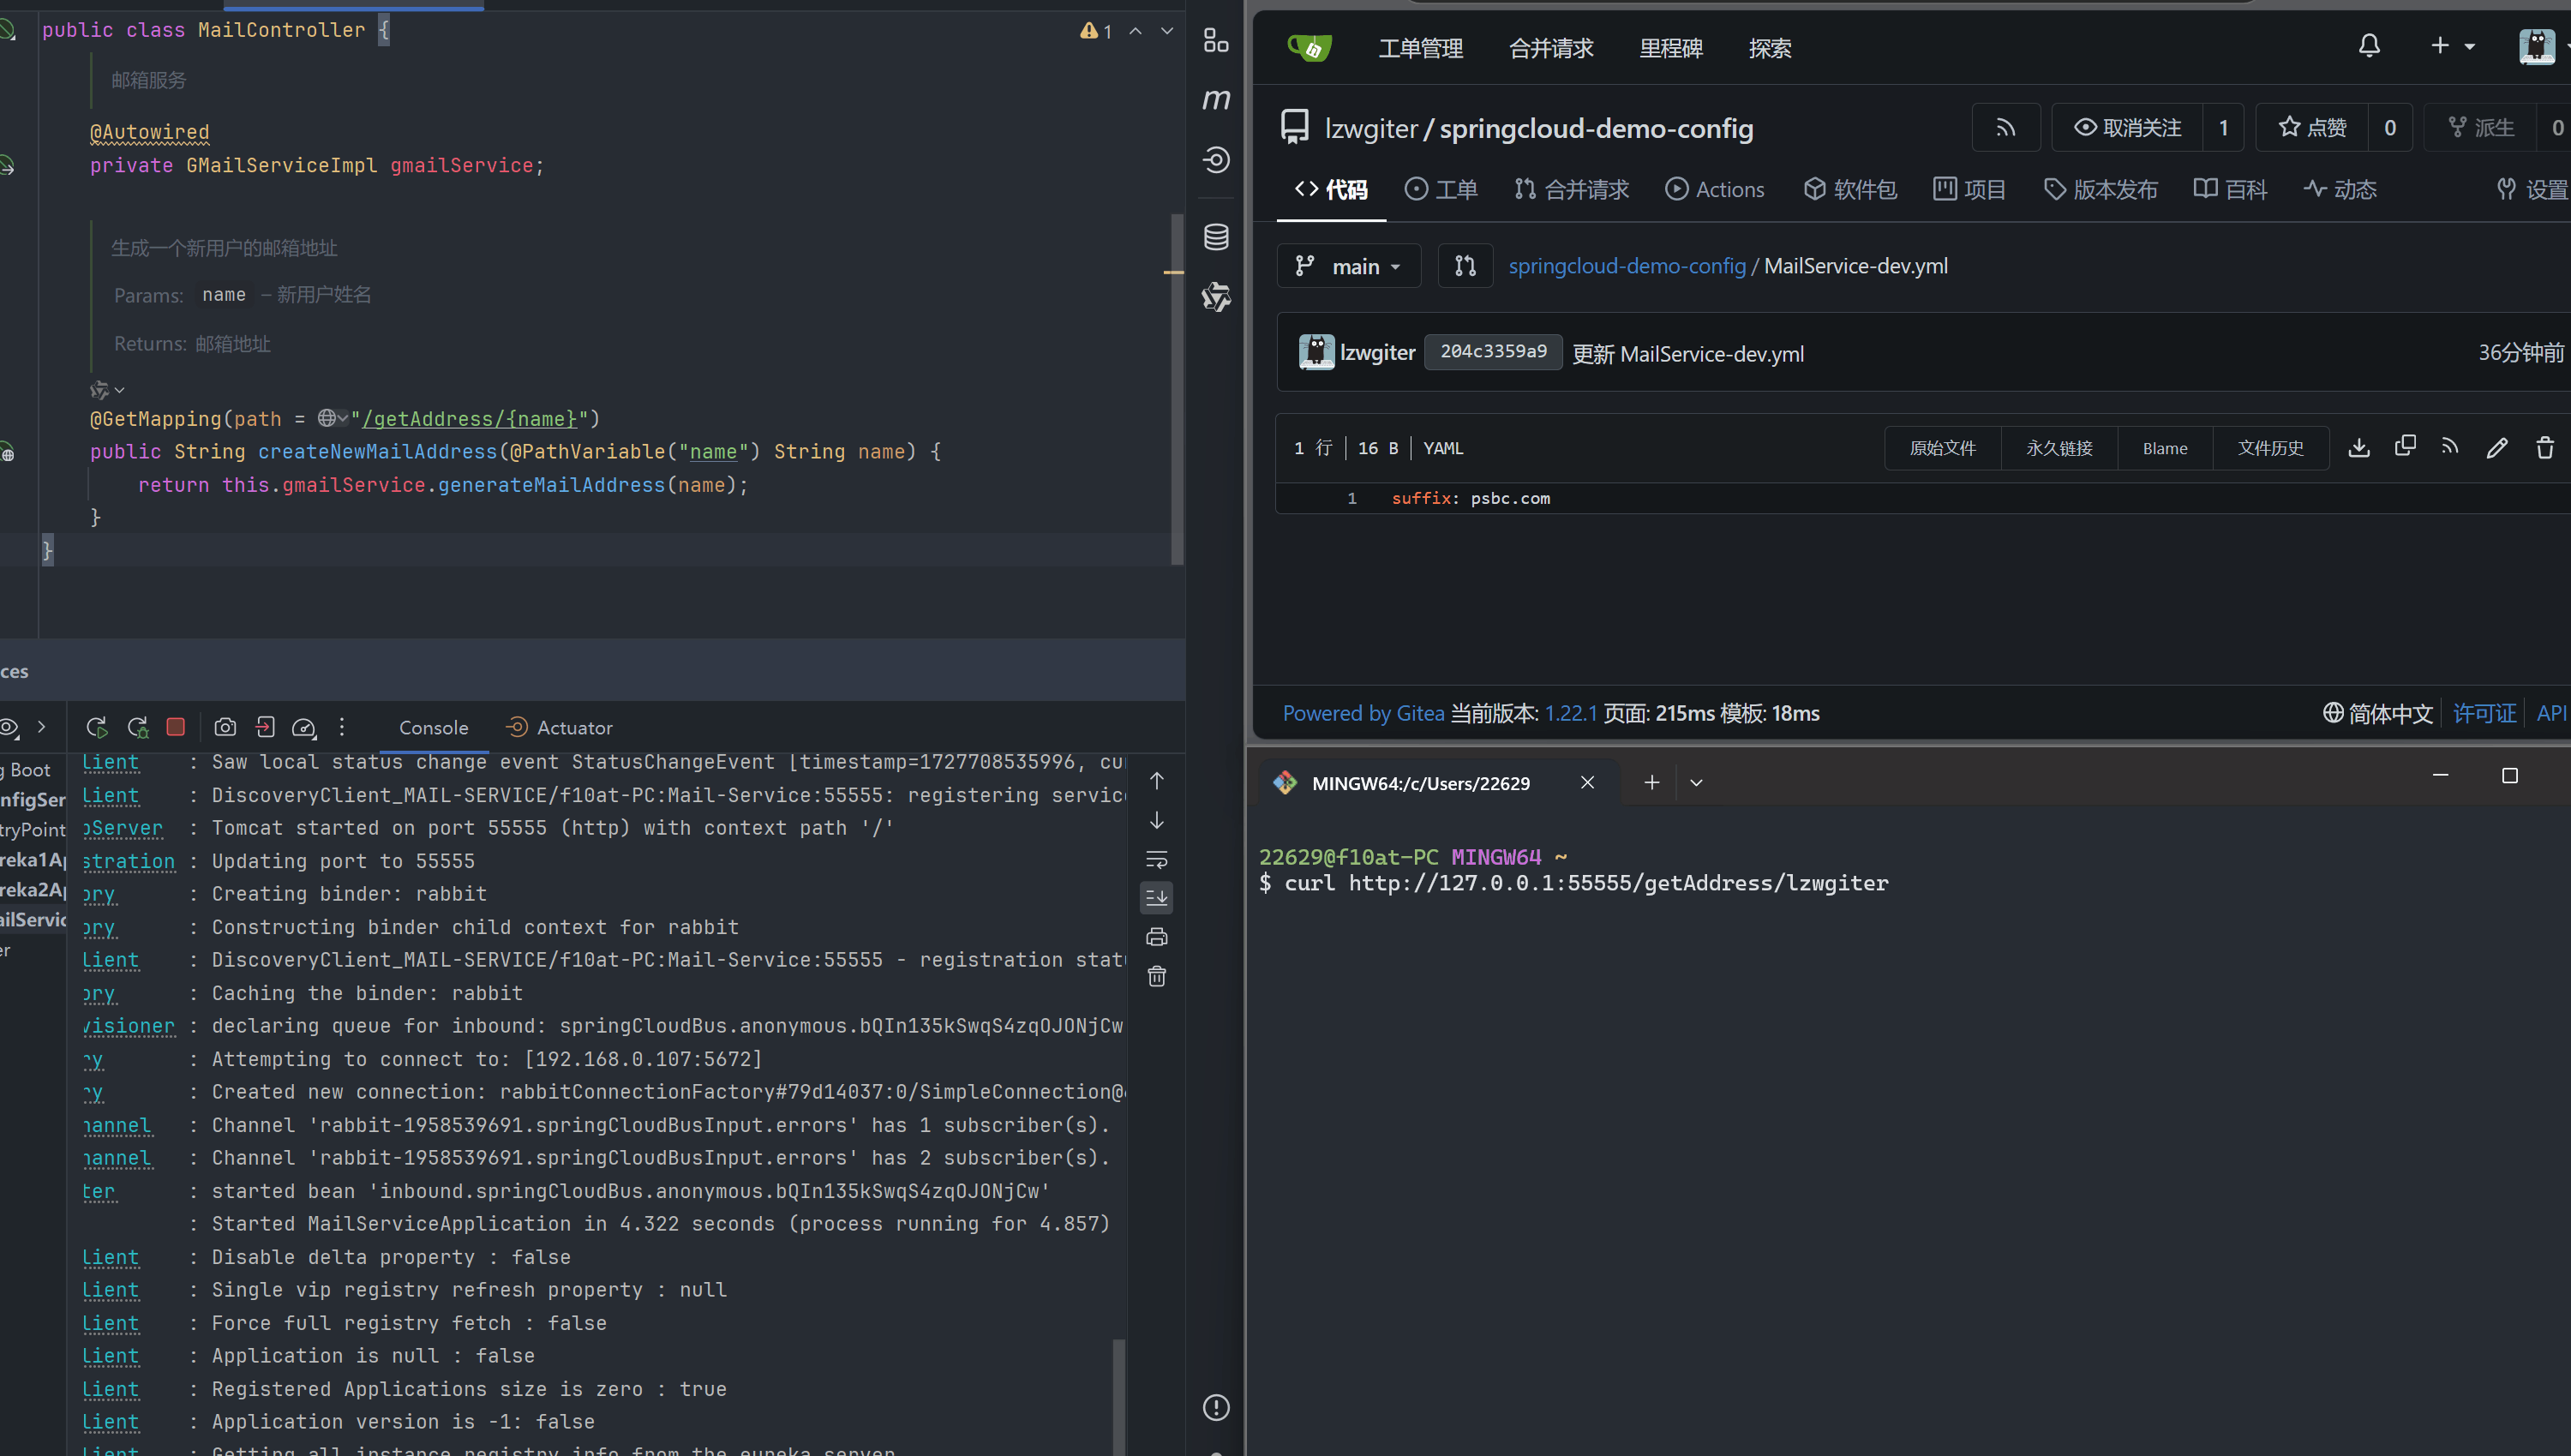
最终结果如下:
参考学习